
DOWNLOAD CHEF’S PLANT MARKERS FOR YOUR GARDEN!
Bly was sho excited for all yewww fwends to start growing your own pwants, Bly just had to give yewww a little gift to get yewww started! Pwease blenjoy these printable planters so yewww know exactly what pwants will spwout! Bly don’t know how to use da pwinter but Bashel said just print these out and get to pwantin’ hehehe.
Instructions
MATERIALS NEEDED
Scissors
Popsicle sticks
Pen
Tape or glue
Optional: clear tape or laminating sheet for weather protection
STEPS
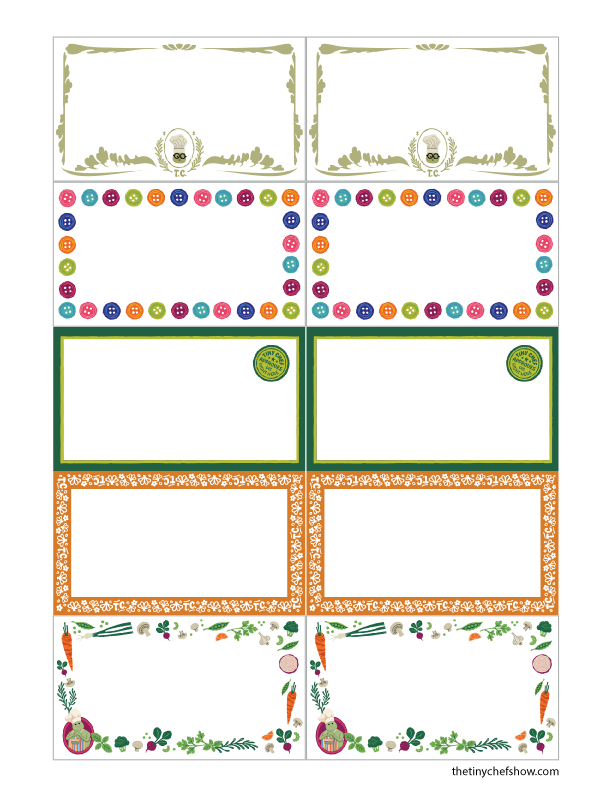
1. Print Chef’s Plant Marker Template
Print the page of blank plant marker cards on regular paper or cardstock.
2. Cut out the plant markers
Use scissors to carefully cut out each marker along the edges.
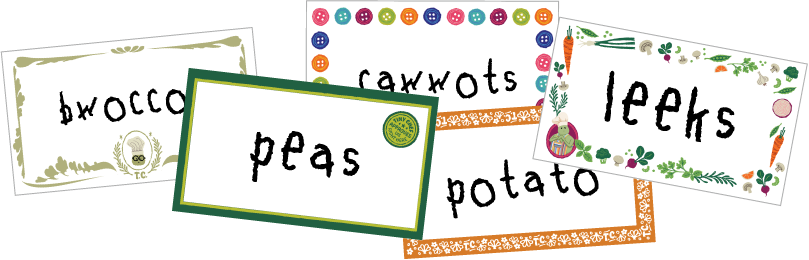
3. Write the plant names
Write the name of each plant on a marker using a pen.
Optional: add the planting date or plant variety.
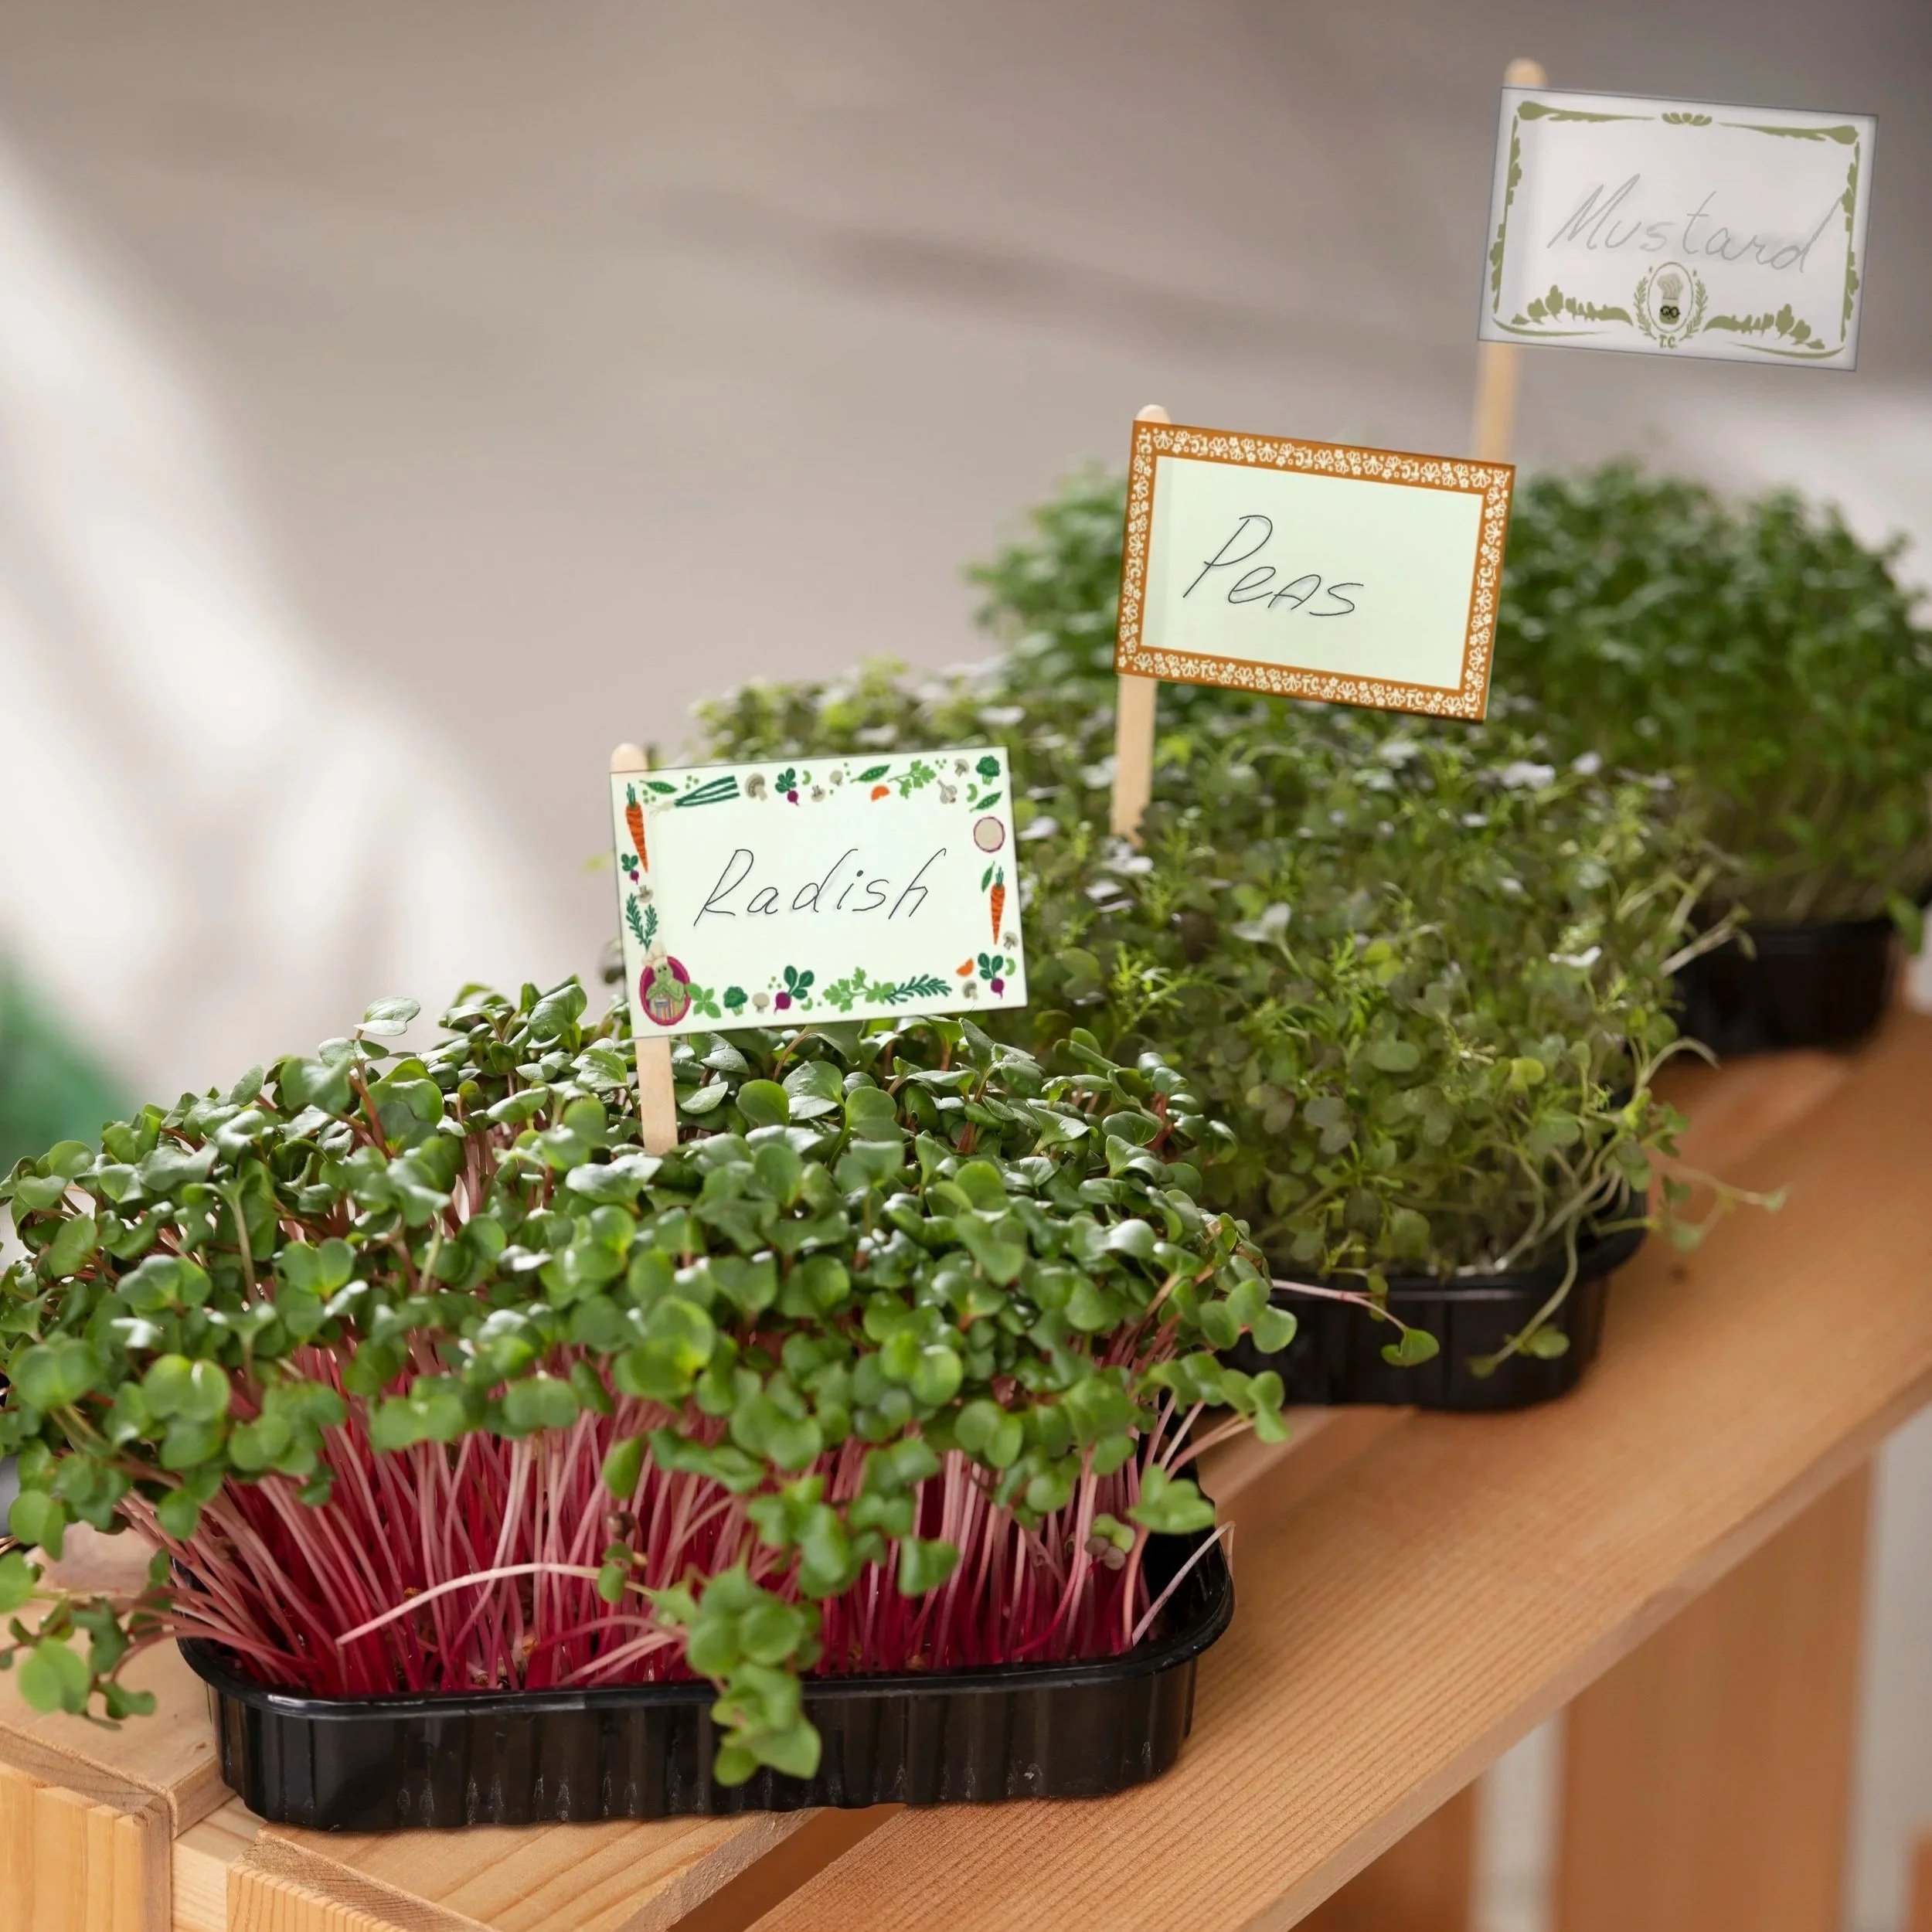
4. Attach to popsicle sticks
Tape or glue the back of each paper marker to the top of a popsicle stick.
5. Protect the plant marker (optional)
Cover the front and back with clear tape or laminate to help protect it from water and dirt.
6. Place in the soil
Insert the popsicle stick into the soil next to the corresponding plant.
TIPS
Cardstock works better than thin paper for durability.
Use a waterproof pen if the markers will be outdoors.
Save the template so you can print new markers each season.